...
- Under the Applications tab, navigate to the Umbrella Faces application.
Click on the "Sign On" General tab in the application.
Under "Credentials Details" select "Email" for the "Application username format"Under the "Advanced Sign-On the "App Settings" section enter the Faces Base URL in the field.
This should be the address of where you login to Faces minus the "/login" portion. For example if you usually login at https://tenzing.umbrella.ch/faces/login you'll have to enter https://tenzing.umbrella.ch/faces
- Click on the “Provisioning” tab in the application. Under the “Settings” panel on the left side, click the “Integration” link.
- Click the “Configure API Integration” button.
- Check "Enable API integration" checkbox
- Click the "Authenticate with Umbrella Faces" Button
- Okta will open a pop-up window, where you'll be able to sign-in to Umbrella Faces and authorize the connection

- Once you've authorized the access, save and go back to the provisioning tab
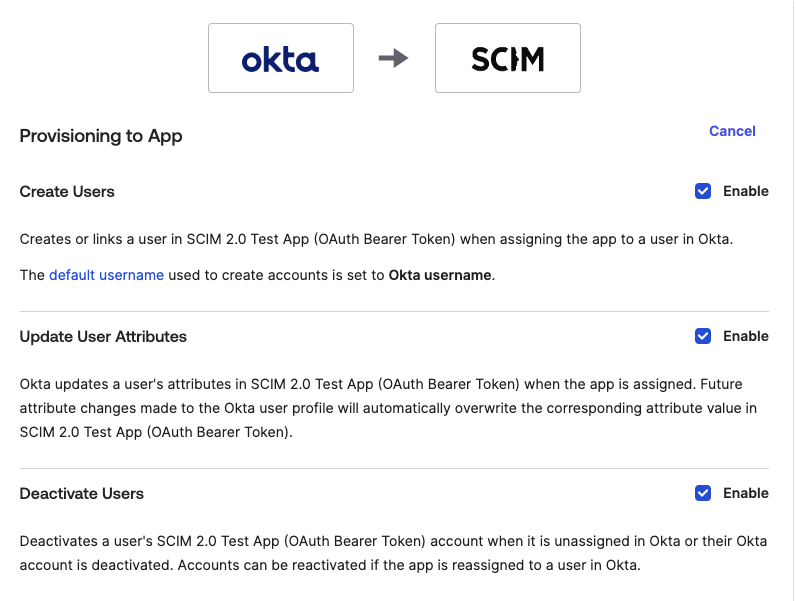
Under the “Settings” panel on the left side, click “To App” under the Settings panel on the left.
Click the "Edit" button at the top right. Check the “Enable” box next to “Create Users”, "Update User Attributes" and "Deactivate Users"

You should now be able to assign your Okta users to the Umbrella Faces application as needed, with their profiles automatically showing up as traveller profiles.
...